Living in Clearwater means enjoying sunny beaches and a laid-back vibe, but it also comes with its share of home maintenance challenges. One of the most annoying—and wasteful—issues homeowners face is a leaky faucet. That constant drip-drip-drip not only drives you crazy but can also rack up your water bill and cause water damage over time. In Florida’s humid climate, where moisture is everywhere, faucets wear out faster, especially in coastal areas like Clearwater Beach. But don’t worry— with this comprehensive DIY guide from Clearwater Handyman, you can tackle those leaks yourself and save a bundle. Whether you’re a first-time fixer-upper or a seasoned DIYer, we’ll walk you through everything step by step. Let’s turn off that drip and get your plumbing back in shape!
Why Leaky Faucets Are a Big Deal in Clearwater Homes
Leaky faucets might seem like a minor nuisance, but in Clearwater’s subtropical environment, they can lead to bigger problems. The high humidity and occasional salty air from the Gulf can accelerate corrosion on metal parts, making seals and washers degrade quicker than in drier climates. According to local plumbers, a single dripping faucet can waste up to 3,000 gallons of water a year— that’s enough to fill a small swimming pool and add hundreds to your utility bills.
Common Causes of Faucet Leaks
Understanding the root of the problem is the first step to fixing it. Most leaks stem from worn-out components:
- Worn Washers or O-Rings: These rubber seals lose elasticity over time, especially with hard water common in Pinellas County.
- Corroded Seats: Mineral buildup from Clearwater’s water supply can erode the faucet’s internal seat.
- Loose Parts: Vibrations from daily use or even nearby construction in growing areas like Countryside can loosen fittings.
If ignored, these leaks can lead to mold growth in your cabinets or even structural issues. For instance, in older homes around Safety Harbor, unchecked drips have caused water stains on ceilings below. Spotting the issue early? That’s where our guide shines.
The Impact on Your Wallet and the Environment
Beyond the annoyance, leaks contribute to water scarcity in Florida, where conservation is key. Fixing one yourself could save you $20-50 in water costs annually, plus avoid pricier repairs later. If you’re in Redington Shores and dealing with beachside humidity, proactive fixes are essential to prevent rust from saltwater exposure.
Tools and Materials You’ll Need for the Job
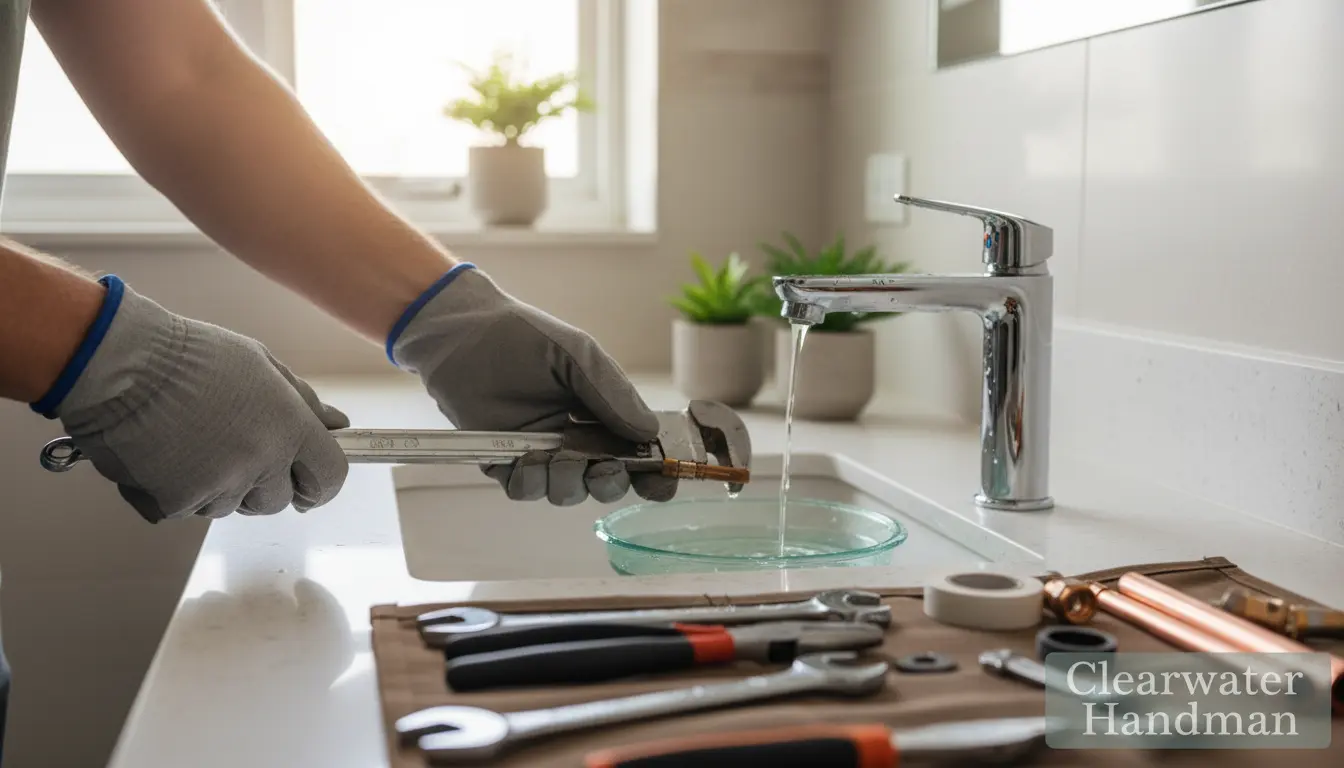
Before diving in, gather your toolkit. Most items are affordable and available at local stores like Home Depot in Clearwater. No need for fancy gadgets—basic handyman skills suffice.
Essential Tools
- Adjustable wrench or pliers
- Screwdriver set (Phillips and flathead)
- Allen wrench (for some modern faucets)
- Bucket or towel to catch water
Replacement Parts and Supplies
- New washers, O-rings, or cartridges (match your faucet type—check the brand like Moen or Delta)
- Plumber’s tape (Teflon tape) for threads
- Pipe dope or sealant for joints
- Vinegar or descaler for mineral buildup
Pro tip: In Clearwater’s hard water areas, stock up on anti-corrosion washers to extend your fix’s life. If you’re assembling related fixtures, consider how this ties into broader home projects, like door knob installation for a fully refreshed bathroom.
Budget about $10-30 for parts. For Oldsmar residents with vintage homes, opt for durable, rust-resistant materials to combat the local climate.
Step-by-Step Guide to Fixing Leaky Faucets
Ready to roll up your sleeves? We’ll cover the three most common faucet types: compression, cartridge, and ball. Turn off the water supply under the sink first— a crucial step to avoid a mini flood in your Clearwater kitchen.
Fixing a Compression Faucet (The Classic Drippers)
These are the oldest style, with a stem you turn to compress a washer against the seat. Common in mid-century homes around Safety Harbor.
- Disassemble the Faucet: Remove the handle cap with a screwdriver, then unscrew the handle nut. Pull off the handle and stem.
- Inspect and Replace: Check the washer at the stem’s end—if it’s cracked, replace it. Use your wrench to remove the stem and clean the seat with vinegar to dissolve minerals.
- Reassemble: Wrap threads with plumber’s tape, reinstall the stem, and tighten. Test by turning the water back on slowly.
This fix takes 15-30 minutes. If mineral buildup is severe, it might link to broader plumbing wear—consider professional gutter cleaning to prevent roof runoff exacerbating indoor moisture.
Repairing Cartridge Faucets (Modern and Sleek)
Popular in newer Clearwater Beach condos, these use a cartridge for smooth operation.
- Shut Off Water and Remove Handles: Pry off the decorative cap, loosen the screw, and pull the handle.
- Extract the Cartridge: Use pliers to grip the cartridge retainer clip and pull it out. Note its orientation.
- Clean and Replace: Rinse the cartridge or install a new one. Lubricate O-rings with pipe dope.
- Reinstall and Test: Secure everything, turn on water, and check for drips.
Time: 20-45 minutes. For coastal properties in Redington Shores, choose cartridges with saltwater resistance to avoid future corrosion.
Handling Ball Faucets (Single-Handle Wonders)
These have a ball joint inside—tricky but rewarding.
- Dismantle the Top: Remove the handle and dome cap with an Allen wrench.
- Remove the Ball Assembly: Lift out the ball, then the washer and spring below.
- Replace Worn Parts: Swap the rubber seals and springs. Clean the ball with a soft cloth.
- Put It Back Together: Reinsert in reverse order, ensuring seals seat properly.
Expect 30-60 minutes. If your faucet’s age shows, this repair pairs well with updating other fixtures, such as kitchen shelf assembly for organized storage.
Throughout these steps, wear safety glasses and gloves. In humid Clearwater, dry all parts thoroughly before reassembly to prevent immediate re-rusting.
Troubleshooting Common Issues During Repairs
Not every fix goes smoothly. If water still leaks:
- Tighten Connections: Double-check nuts and retainers.
- Check for Hidden Leaks: Look under the sink for drips on pipes.
- Water Pressure Problems: Clearwater’s municipal water can fluctuate; adjust aerators.
If you’re in Countryside and notice persistent issues, it could indicate pipe corrosion—link it to seasonal maintenance like caulking windows to seal out humidity.
For major damage, like cracked porcelain from leaks, our drywall repair team can restore your space seamlessly.
When DIY Isn’t Enough: Call the Pros
While most leaks are DIY-friendly, some signal deeper problems. If you encounter rusted pipes, low water pressure, or leaks in hard-to-reach spots, it’s time to call Clearwater Handyman. We’re local experts serving areas from Clearwater Beach to Oldsmar, with years of experience in Florida’s unique plumbing challenges. Our team handles everything from quick fixes to full repipes, ensuring your home stays dry and efficient.
Don’t risk water damage in your Safety Harbor bungalow—schedule with us for peace of mind.
FAQ: Leaky Faucet Fixes in Clearwater
How much does it cost to fix a leaky faucet myself?
Typically $10-50 for parts, plus your time. In Clearwater, factor in local water quality—hard water might require extra descaling supplies.
Can I fix a leaky faucet without turning off the water?
No, always shut off the supply to avoid floods. If your home lacks shutoffs, contact a pro immediately.
Why do faucets leak more in humid areas like Clearwater?
Humidity speeds up seal degradation and corrosion. Coastal spots like Redington Shores see extra wear from salt air.
How often should I check my faucets for leaks?
Monthly, especially after heavy rains. Tie it into routine home checks in areas like Countryside.
What if my leak is from the base of the faucet?
This often means a worn O-ring. Follow our cartridge guide, or call us for professional assistance in Oldsmar.
Conclusion: Stop the Drip and Enjoy Clearwater Living
Fixing a leaky faucet is more than a chore—it’s a win for your wallet, your home, and the environment. With Clearwater’s sunny disposition comes the need for vigilant maintenance, and this DIY guide equips you to handle it like a pro. From compression classics to modern cartridges, you’ve got the tools and knowledge to seal the deal.
Still dripping after trying? Or prefer expert hands? Contact Clearwater Handyman today for reliable service across Pinellas County, including Clearwater Beach and beyond. Schedule your free consultation now and keep your home leak-free—call us at 7274725982 or visit our site. Your dry, drip-free future starts here!